Internet Support
Macintosh Applications
Macintosh FTP Setup
CyberDuck
Cyberduck is an open source SFTP (SSH Secure File Transfer) and FTP browser licenced under the GPL. It has been built from the ground up with usability in mind, having the same consistent graphical user interface for both SFTP and FTP browsing.
Install CyberDuck 3.5.1 for Mac OS X 10.6 and 10.5 PPC/Intel.
Install CyberDuck 3.2.1 for Mac OS X 10.4, 10.5, 10.4 PPC/Intel, and 10.5 PPC/Intel.
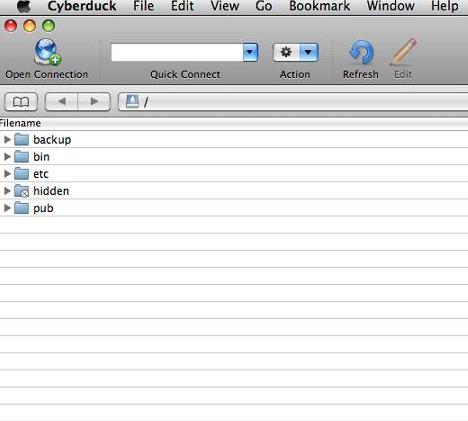
Open the CyberDuck application.
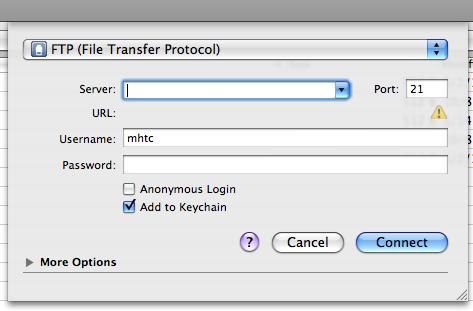
Click Open Connection.
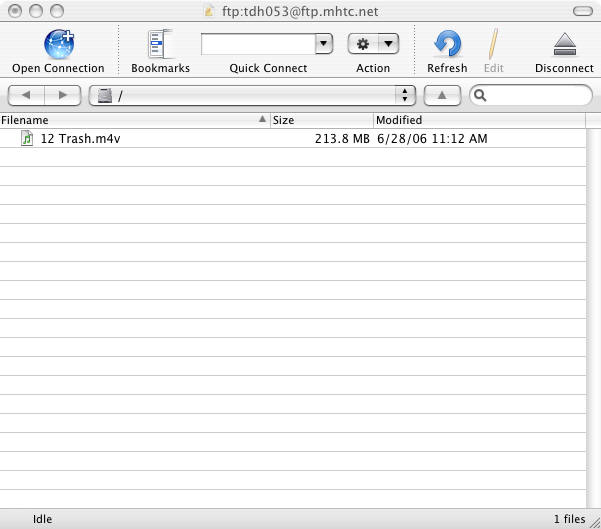
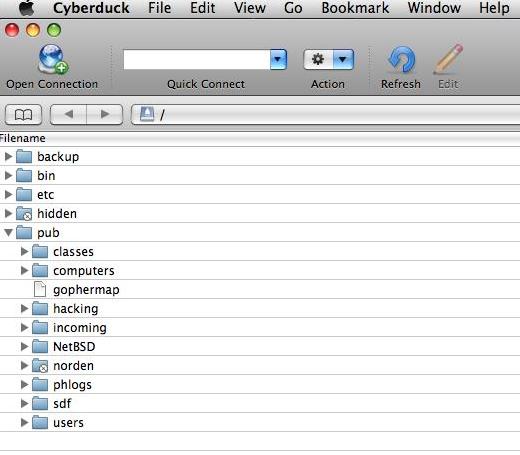
Your files will now be listed in the browser window. You can then drag and drop the files both to and from this window to copy files to and from the server. If you are using this site for a home page, you will want to ensure that you have the page named either index.htm or index.html in the root folder.
Version 3.2.1
Maintaining Your Website With cPanel
If you have a website through MHTC you can upload files using an application such as Dreamweaver; Frontpage; etc., an FTP application such as FileZilla, or cPanel.
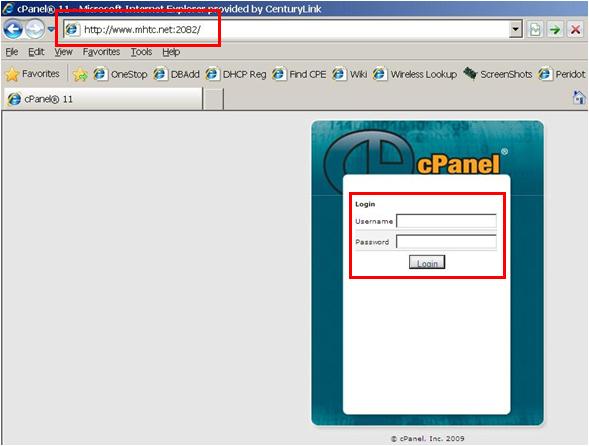
You should have received an email from MHTC with the address, username and password you need to log into cPanel. If you did not receive this information, please contact MHTC. Once you enter the cPanel domain address you will be taken to the cPanel login screen. Enter the appropriate login username and password and select Login.
The File Manager allows you to move your files within directories; delete, upload and edit web pages; etc.
On the left side of the cPanel screen there are stats for your domain with the most important one showing how much disk space is being utilized. If you are close to the limit you may need to either delete files or contact MHTC to *increase the server space.
*additional charges apply
Mount Horeb
200 East Main Street – 608-437-5551
Tech Support
Dodgeville
305 North Iowa Street – 608-930-9985
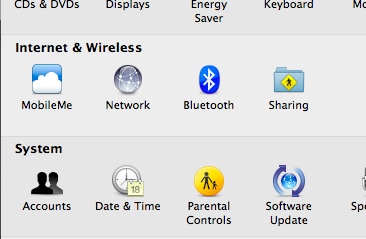
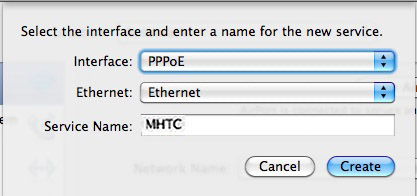
PPPoE Setup for OS X 10.6 Snow Leopard & 10.7 Lion
- Click the OK button.
- Click the Apply Now button to finish.
Mount Horeb
200 East Main Street – 608-437-5551
Tech Support
Dodgeville
305 North Iowa Street – 608-930-9985
Windows Applications
FTP Setup – FileZilla
FileZilla
FileZilla is an FTP program for file uploading and downloading to and from your FTP site, server, or host. The program lets you transfer files and navigate among folders, Web sites, and your computer. This software enables you to perform multiple file transfers simultaneously. A FileZilla tutorial can be found here.
Install FileZilla 3.3.3 for Windows 2000, XP, Vista, and Windows 7.
Open the FileZilla application.
Host = If you have a domain account (i.e. www.mysite.com) you will want to enter your address in the format ftp.mysite.com.
Username = cPanel login
Password = cPanel password
Click Quickconnect.
Your files will now be listed in the browser window. You can then drag and drop the files both to and from this window to copy files to and from the server. If you are using this site for a home page, you will want to ensure that you have the page named either index.htm or index.html in the root folder.
Maintaining Your Website With cPanel
If you have a website through MHTC you can upload files using an application such as Dreamweaver; Frontpage; etc., an FTP application such as FileZilla, or cPanel.
You should have received an email from MHTC with the address, username and password you need to log into cPanel. If you did not receive this information, please contact MHTC. Once you enter the cPanel domain address you will be taken to the cPanel login screen. Enter the appropriate login username and password and select Login.
The File Manager allows you to move your files within directories; delete, upload and edit web pages; etc.
On the left side of the cPanel screen there are stats for your domain with the most important one showing how much disk space is being utilized. If you are close to the limit you may need to either delete files or contact MHTC to *increase the server space.
*additional charges apply
Mount Horeb
200 East Main Street – 608-437-5551
Tech Support
Dodgeville
305 North Iowa Street – 608-930-9985
PPPoE Setup for Windows 7
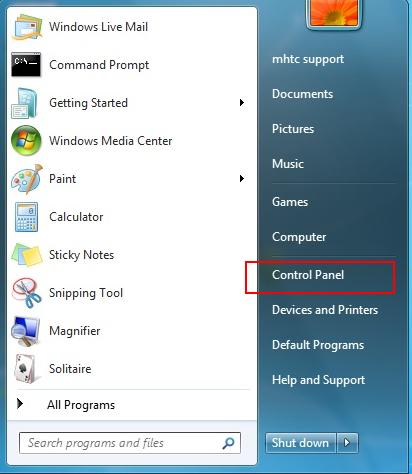
Windows 7 gives you the option to view the Control Panel in two different views: Category View and Classic View. Use the drop down arrow next to View by: on the right side of the page to switch between classic and category view.
Category View
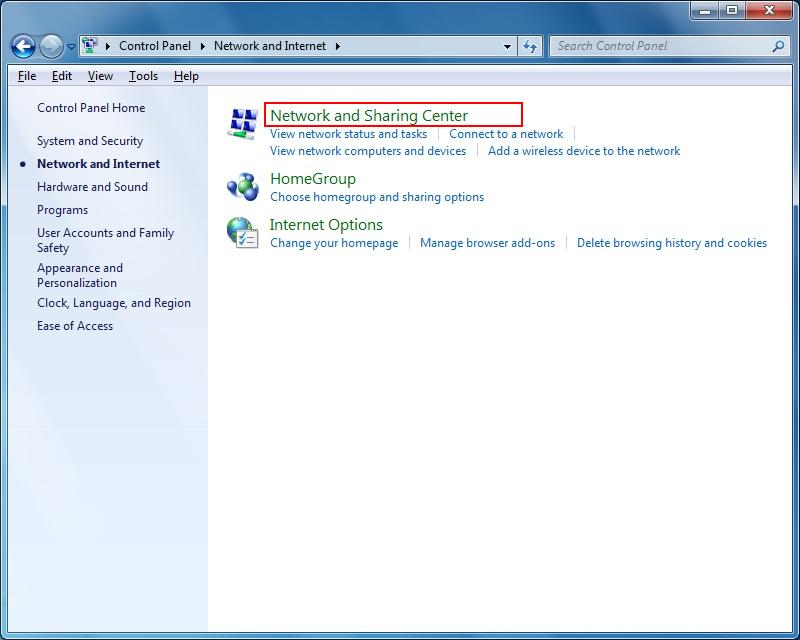
Click on Network and Internet then on Network and Sharing Center.
User name = Type your MHTC account user name (everything before the @).
Password = Type your MHTC account password.
Remember this password should be selected unless you want to enter it each time for security reasons.
Connection name = Type MHTC.
Select Allow other people to use this connection, especially if you have multiple accounts set up on this computer.
Note: Although the connection dialog box looks like a dial-up connection it really isn’t. More information about broadband connections can be found by searching the Internet.
If you purchase a router, the PPPOE settings will then need to be put on the router and this broadband connection disabled.


